
Unvented Cylinder Specialists
Professional Unvented Cylinder Installations
We install and replace mains-pressure unvented and thermal store hot water cylinders across the North West — clean pipework, professional installation, and a job you can trust.
Manufacturers
Cylinder Warranty
Field Updates
Latest Installations
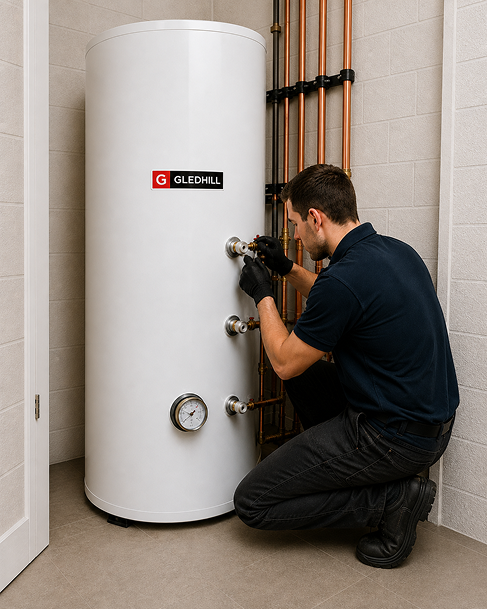
Every job gets photographed on site, not staged in a showroom. This is the standard you’re actually paying for.
Before / After
The Transformation
Most callouts start the same way — a tired or corroded installation, has been in place for many years and is starting to leak or no longer delivers consistent hot water. Here is what happens when its done properly.

More Efficient
Removes leaks and reduces energy consumption
Mains Pressure
Hot water delivered to all outlets
Certified, Not Just Fitted
Every job signed off with a G3 Building Notice
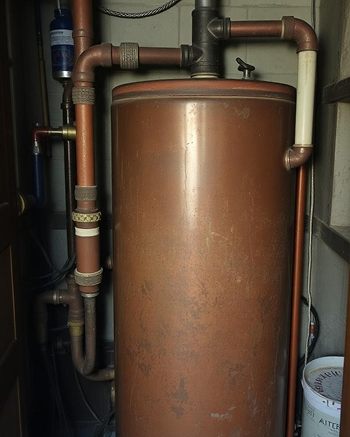
Before – Old Installation
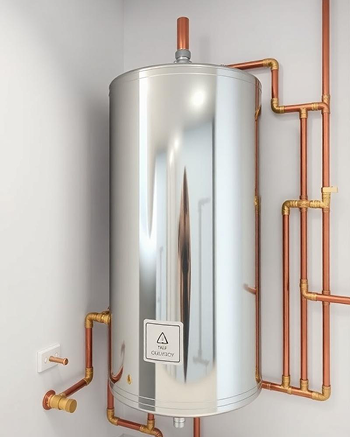
After – New Installation
Certified Installers
Approved G3 Installers


Megaflo

Telford

GledHill

Joule

Range

OSO Hotwater
Protocol
Our Installation Process
01/
Site Survey
We check your mains pressure, flow rate, and available space, and size the right cylinder for your household — no guesswork, no oversized units you’re paying to heat unnecessarily.
02/
System Prep
Old tank and pipework removed, water isolated safely, floors and surfaces protected before any work starts.
03/
G3 Installation
Cylinder, discharge pipework, expansion vessel and safety valves fitted to BS EN 12897 — the standard that actually matters for unvented systems.
04/
Commissioning
Full pressure test, explanation to resident of how system functions, warranty paperwork handed over on the day and G3 Building Notice issued.